Up to University
Bridging the gap between schools and universities through informal education
eduMEET User Guide for the openUp2U Learning Platform
About eduMEET for openUp2U
eduMEET is an interactive, Web-based videoconferencing platform, supporting distance learning. eduMEET has been developed by the international community of research and education networks for the research and education community.
eduMEET is part of the standard Up2U learning platform as well as the trimmed-down openUp2U platform.
Information for Teachers / meeting creators
Before you start
Important note! Before you start or join a meeting, check that you are using a supported Web browser.

WebRTC technology is relatively new; it is still undergoing development and standardisation. As it uses web browser technology, each stage of its development is done for a particular version of a web browser; therefore, it is important that only the latest versions of web browsers are used.
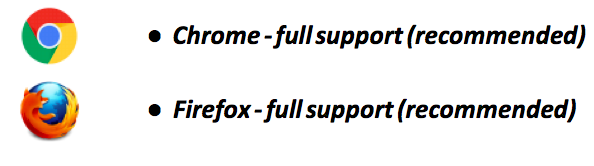
Supported web browsers (in the newest versions):
Other web browsers:
Other web browsers:
- Opera-limitedsupport(e.g.screensharingisnotavailable)
- Edge-limitedsupport(e.g.screensharingisnotavailable)
- Safari-verylimitedsupport(not recommended)
Overall IOSbased devices (especially the older ones) may cause various problems. Once you have checked and established that you have the latest version of Chrome or Firefox you can start.
How to start a meeting
Go to https://edumeet.geant.org
You will see the main screen of the eduMEET service where a randomly generated room name is visible.
We recommend that you use this randomly-generated room name instead of creating your own room name; this will minimise the chances of other people using the same room name and accidentally joining your call.
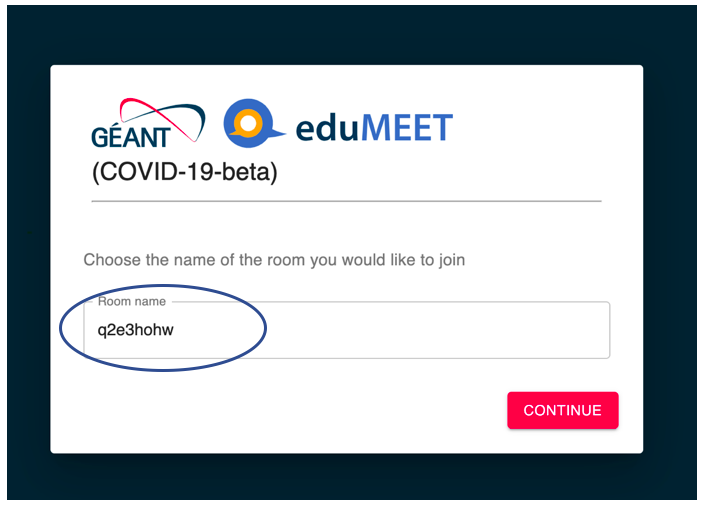
Click ‘Continue’.
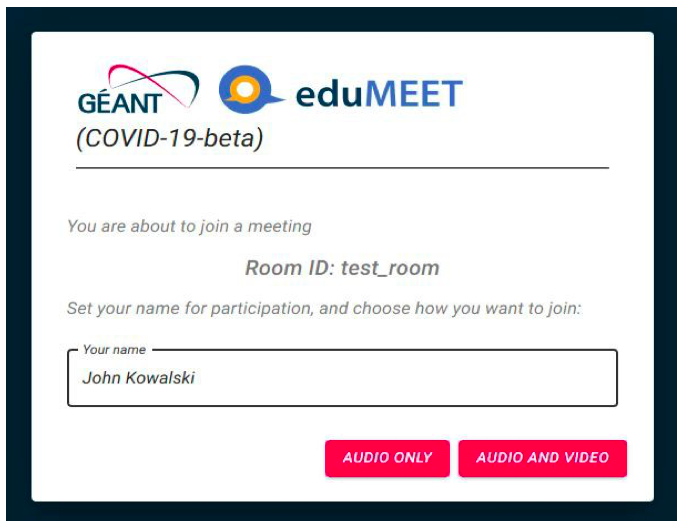
On the following screen enter your name and select audio and video options to use when you are in the meeting room:
AUDIO ONLY – your camera will be switched off by default and your video stream will not be sent. You will be able to manually switch on your camera during the call.
AUDIO AND VIDEO – your audio and video streams will be active by default. You will be able to manually switch off your camera or mic during the call.
Once you have made your selection, pop-up(s) will appear, asking if you allow eduMEET to use your microphone/camera.
Click ‘Allow’.
How to invite participants
To allow participants to join the meeting room, copy the URL that appears in the browser, e.g. https://edumeet.geant.org/q2e3hohw and paste it into an invitation message.
During a meeting – managing settings and options
TIP: Remember to mute your Mic while you are not talking. Simply use the “m” key or space bar, or click on the Mic icon in your video window.
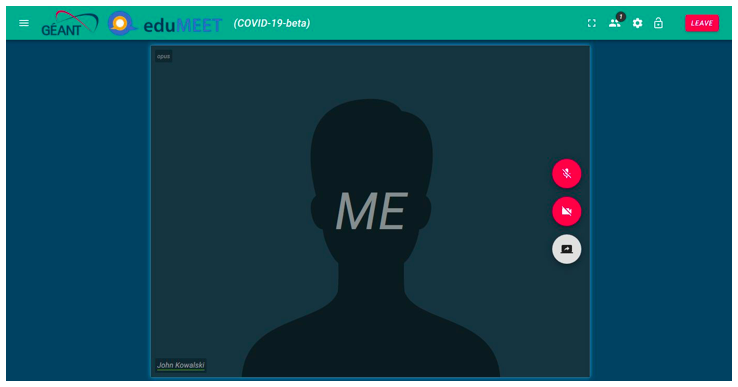
On screen menu (participants window)
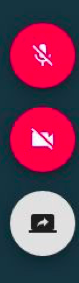
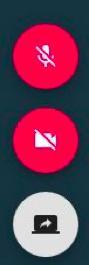
- Mute your microphone(shortcut:‘m’keyor ‘Spacebar’) Each participant must mute their own microphone – it is not currently possible for the host to mute everyone.
- Mute your video– Each participant must turn their own camera on/off – it is not currently possible for the host to do this for everyone.
- Screen sharing – *To Start screen sharing click the icon then select what you wish to share and then click ‘Share’ (Chrome) / ‘Allow’ (Firefox)
- To Stop screen sharing – if you are already sharing your screen, click the green screen share icon.
- To cancel screen sharing before you complete the action – If you decide not to share your screen but have already clicked the start screen sharing icon, please note that there are differences between browsers.
- In Chrome you can simply ‘Cancel’; you will see a red error message appear (see below), but this will cause no problem to continue with the meeting.
- In Firefox, if you click ‘Don’t allow’, the same red error message will appear, but then screen sharing will be disabled for the duration of the meeting and an error message will appear each time you try to share a screen. Click the icon next to the URL to unlock the option again.
Screen sharing error message – cancelling screen share before you complete the action

Viewing shared screens
When a screen is shared a new panel will open within eduMEET to display the shared screen. If participants move their cursor over this panel they will see two icons:

The square with the arrow – this will open the shared screen
in a separate browser window which can be enlarged for detailed viewing.

The four corners icon – this will enlarge the shared screen within the current eduMEET browser window.
Quick Actions buttons (Top right corner)

From the left, these buttons allow you to:
- Enter fullscreen
- ‘Show participants’ – used mainly to open a tab with a list of participants from the menu. This also gives access to the following options:
- Chat’ – for text messages to all the participants
- ‘File Sharing’ – to upload files
- ‘Participants’ – to see names and status of everyone in the call.
- Show settings
- Lock / Unlock theroom
- Leave themeeting
Main menu section (Top left corner)
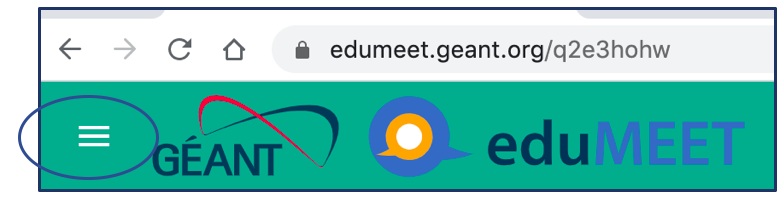
This provides a direct route to the same functions that are also found behind the ‘Show Participants’ icon described above: Chat, File sharing, and Participants.
- CHAT
Type into the bar at the bottom of the white screen and click the arrow to send your message into the area above. Private chat is not possible – all messages are visible to all participants. - FILE SHARING
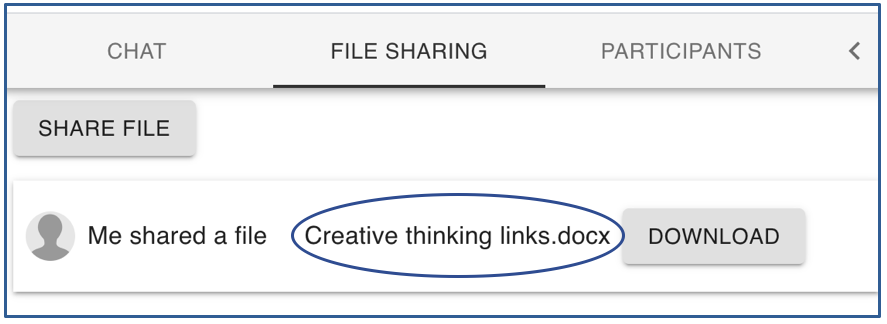
To upload a file, click the ‘Share File’ button, select a file from your computer, then click ‘Open’. You will see the file appear in the white area in the eduMEET screen.
NOTE:it is not possible to drag and drop files into this white space; if you do this you may need to re-join the meeting.
Participants can click ‘Download’ to save shared files on their own computer devices.
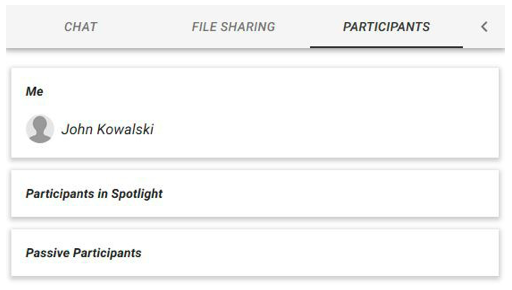
- PARTICIPANTS
All participants in the call are displayed in the list here.- ‘Active’ – participants currently visible in the web browser window.
- ‘Passive’ – participants in the meeting but not visible at the moment in the browser (related to ‘Number of visible videos’ – see below).
NOTE:The visibility of participants in the browser is voice activated, so if a “passive” participant speaks, his/her video will appear in the main window.
Settings
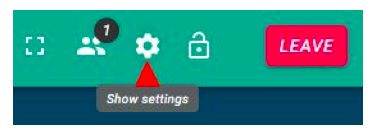
The ‘Show settings’ button allows you to:
- Select/changethe camera and microphonedevices being used
- Changethe videoresolution
- Change the roomlayout
- ‘Democratic view’ – all visible participant / shared screen display panels are of equal size
- ‘Filmstrip view’ – the person sharing their screen or talking is displayed more prominently. This is only recommended for meetings with one main speaker.
- Set maximum number of visible participants
- Set visibility of the bar across the top of the eduMEET screen – if ‘Permanent top bar’ is not clicked, the bar will disappear after a few seconds of inactivity.
Information for Students / meeting participants
Before you start
Important note! Before you start or join a meeting, check that you are using a supported Web browser.

WebRTC technology is relatively new; it is still undergoing development and standardisation. As it uses web browser technology, each stage of its development is done for a particular version of a web browser; therefore, it is important that only the latest versions of web browsers are used.
Supported web browsers (in the newest versions):
Other web browsers:
• Opera – limited support (e.g. screen sharing is not available)
• Edge – limited support (e.g. screen sharing is not available)
• Safari – very limited support (not recommended)
Overall IOS based devices (especially the older ones) may cause various problems.
Once you have checked and established that you have the latest version of Chrome or Firefox you can start.
How to join a meeting
Click on the link that you will find in your meeting invitation message (e. g. https://edumeet.geant.org/okdcmffx)
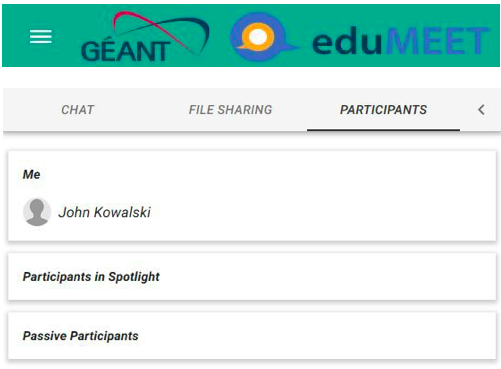
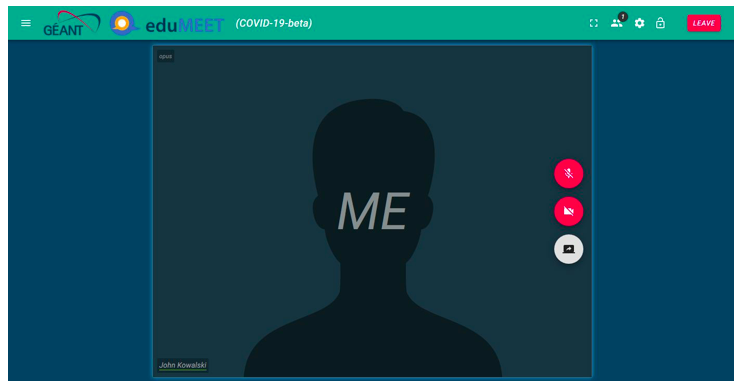
You will see a screen like this:

Type your name in the box to replace the word “Guest” (where ‘John Kowalski’ is written in this example image) and select audio and video options to join the meeting:
AUDIOONLY-your camera will be switched off by default and your video stream will not be sent. You will be able to manually switch on your camera during the call.
AUDIOANDVIDEO-your audio and video streams will be active by default. You will be able to manually switch off your camera or mic during the call.
Once you have made your selection, pop-up(s) will appear, asking if you allow eduMEET to use your microphone/camera.
Click ‘Allow’.
During a meeting
Mute your Mic while you are not talking. Simply use the “m” key or space bar or click on the Mic icon in your Video window.
On screen menu (participants window)
Mute your microphone(shortcut:‘m’keyor ‘Spacebar’) Each participant must mute their own microphone – it is not currently possible for the host to mute everyone.
Mute your video– Each participant must turn their own camera on/off – it is not currently possible for the host to do this for everyone.
Viewing shared screens
When a screen is shared by the presenter, a new panel will open within eduMEET to display the shared screen. If participants move their cursor over this panel they will see two icons:

The square with the arrow – this will open the shared screen in a separate browser window which can be enlarged for detailed viewing.

The four corners icon – this will enlarge the shared screen within the current eduMEET browser window.

- CHAT
Type into the bar at the bottom of the white screen and click the arrow to send your message in the area above. Private chatting is not possible – all messages are visible to all participants.
- FILE SHARING
Click ‘Download’ to save any shared files that are visible in the white area. If you need to upload a file, click the ‘Share File’ button, select a file from your computer, then click ‘Open’.
Copyright © 2026 · All Rights Reserved · Up to University
 The innovation action leading to these results has received funding from the European Union's Horizon 2020 research and innovation programme under Grant Agreement No. 732049 - Up2U
  Privacy notice · RSS Feed · Log in